You on your way to making a living levain sourdough starter that will give your breads true character and taste. This levain sourdough starter recipe and guide is made with white flour but can be substituted with another flour.
How To Make A Living Levain Sourdough Starter?
There are many sourdough starter recipes on the web that uses bakers yeast, let me tell you that these are not true sourdough starters but rather just a preferment. My sourdough starter is over 25 years old and still thriving providing my breads with a unique balanced lactic sour taste and superior crumb and crust characteristics.
What Ingredients Are Used To Make Sourdough Starter?
Living sourdough starter (levain) is made with flour and water and wild yeast (micro flora). It typically takes about 7 days for your sourdough starter to be fully cultivated and ready to use in your bread baking. Follow our step by step guide to make your very own sourdough starter that will live for decades as long as you are committed to nourishing it with Love.
What Ingredients and Tools Are Needed To Make A Sourdough Starter?
You will need these flour and water for starters. A bowl were you can mix your sourdough, digital scale and a medium to large glass jar with pressure lid to store your sourdough levain.
Sourdough Starter Ingredients:
- Unbleached Flour 120 grams (1 cup)
- Spring Water room temperature – 120 grams ( 1/2 cup)
Instructions How To Prepare Sourdough Starter (Levain):
- Day 1- In a medium size bowl add the 120 grams of flour and 120 grams of water and mix together using a spatula just until the flour adsorbs the water. Transfer to a glass jar and cover with lid or cloth for 24 hours in a warm spot.
- Day 2- Disregard half of your flour mixture and add 120 grams of water into a bowl and 120 grams of mixture and dissolve into the water. Add in 120 grams of flour and mix until water mixture absorbs the flour. Transfer the dough to a clean glass jar and cover with lid or cloth for another 24 hours.
- Day 3- You should start seeing some activity with your premature sourdough starter. By day 3 there should be bubbles at the surface of your starter indicating that the wild yeast are present. Repeat the same process as day 2 by remove half of the starter dough and replenish with equal parts of water and flour and starter. Scale 180 grams of starter, dissolve in 180 grams of room temperature water and add 180 grams of flour and mix until liquid absorbs the flour, transfer to glass jar repeat this process in 12 hours.
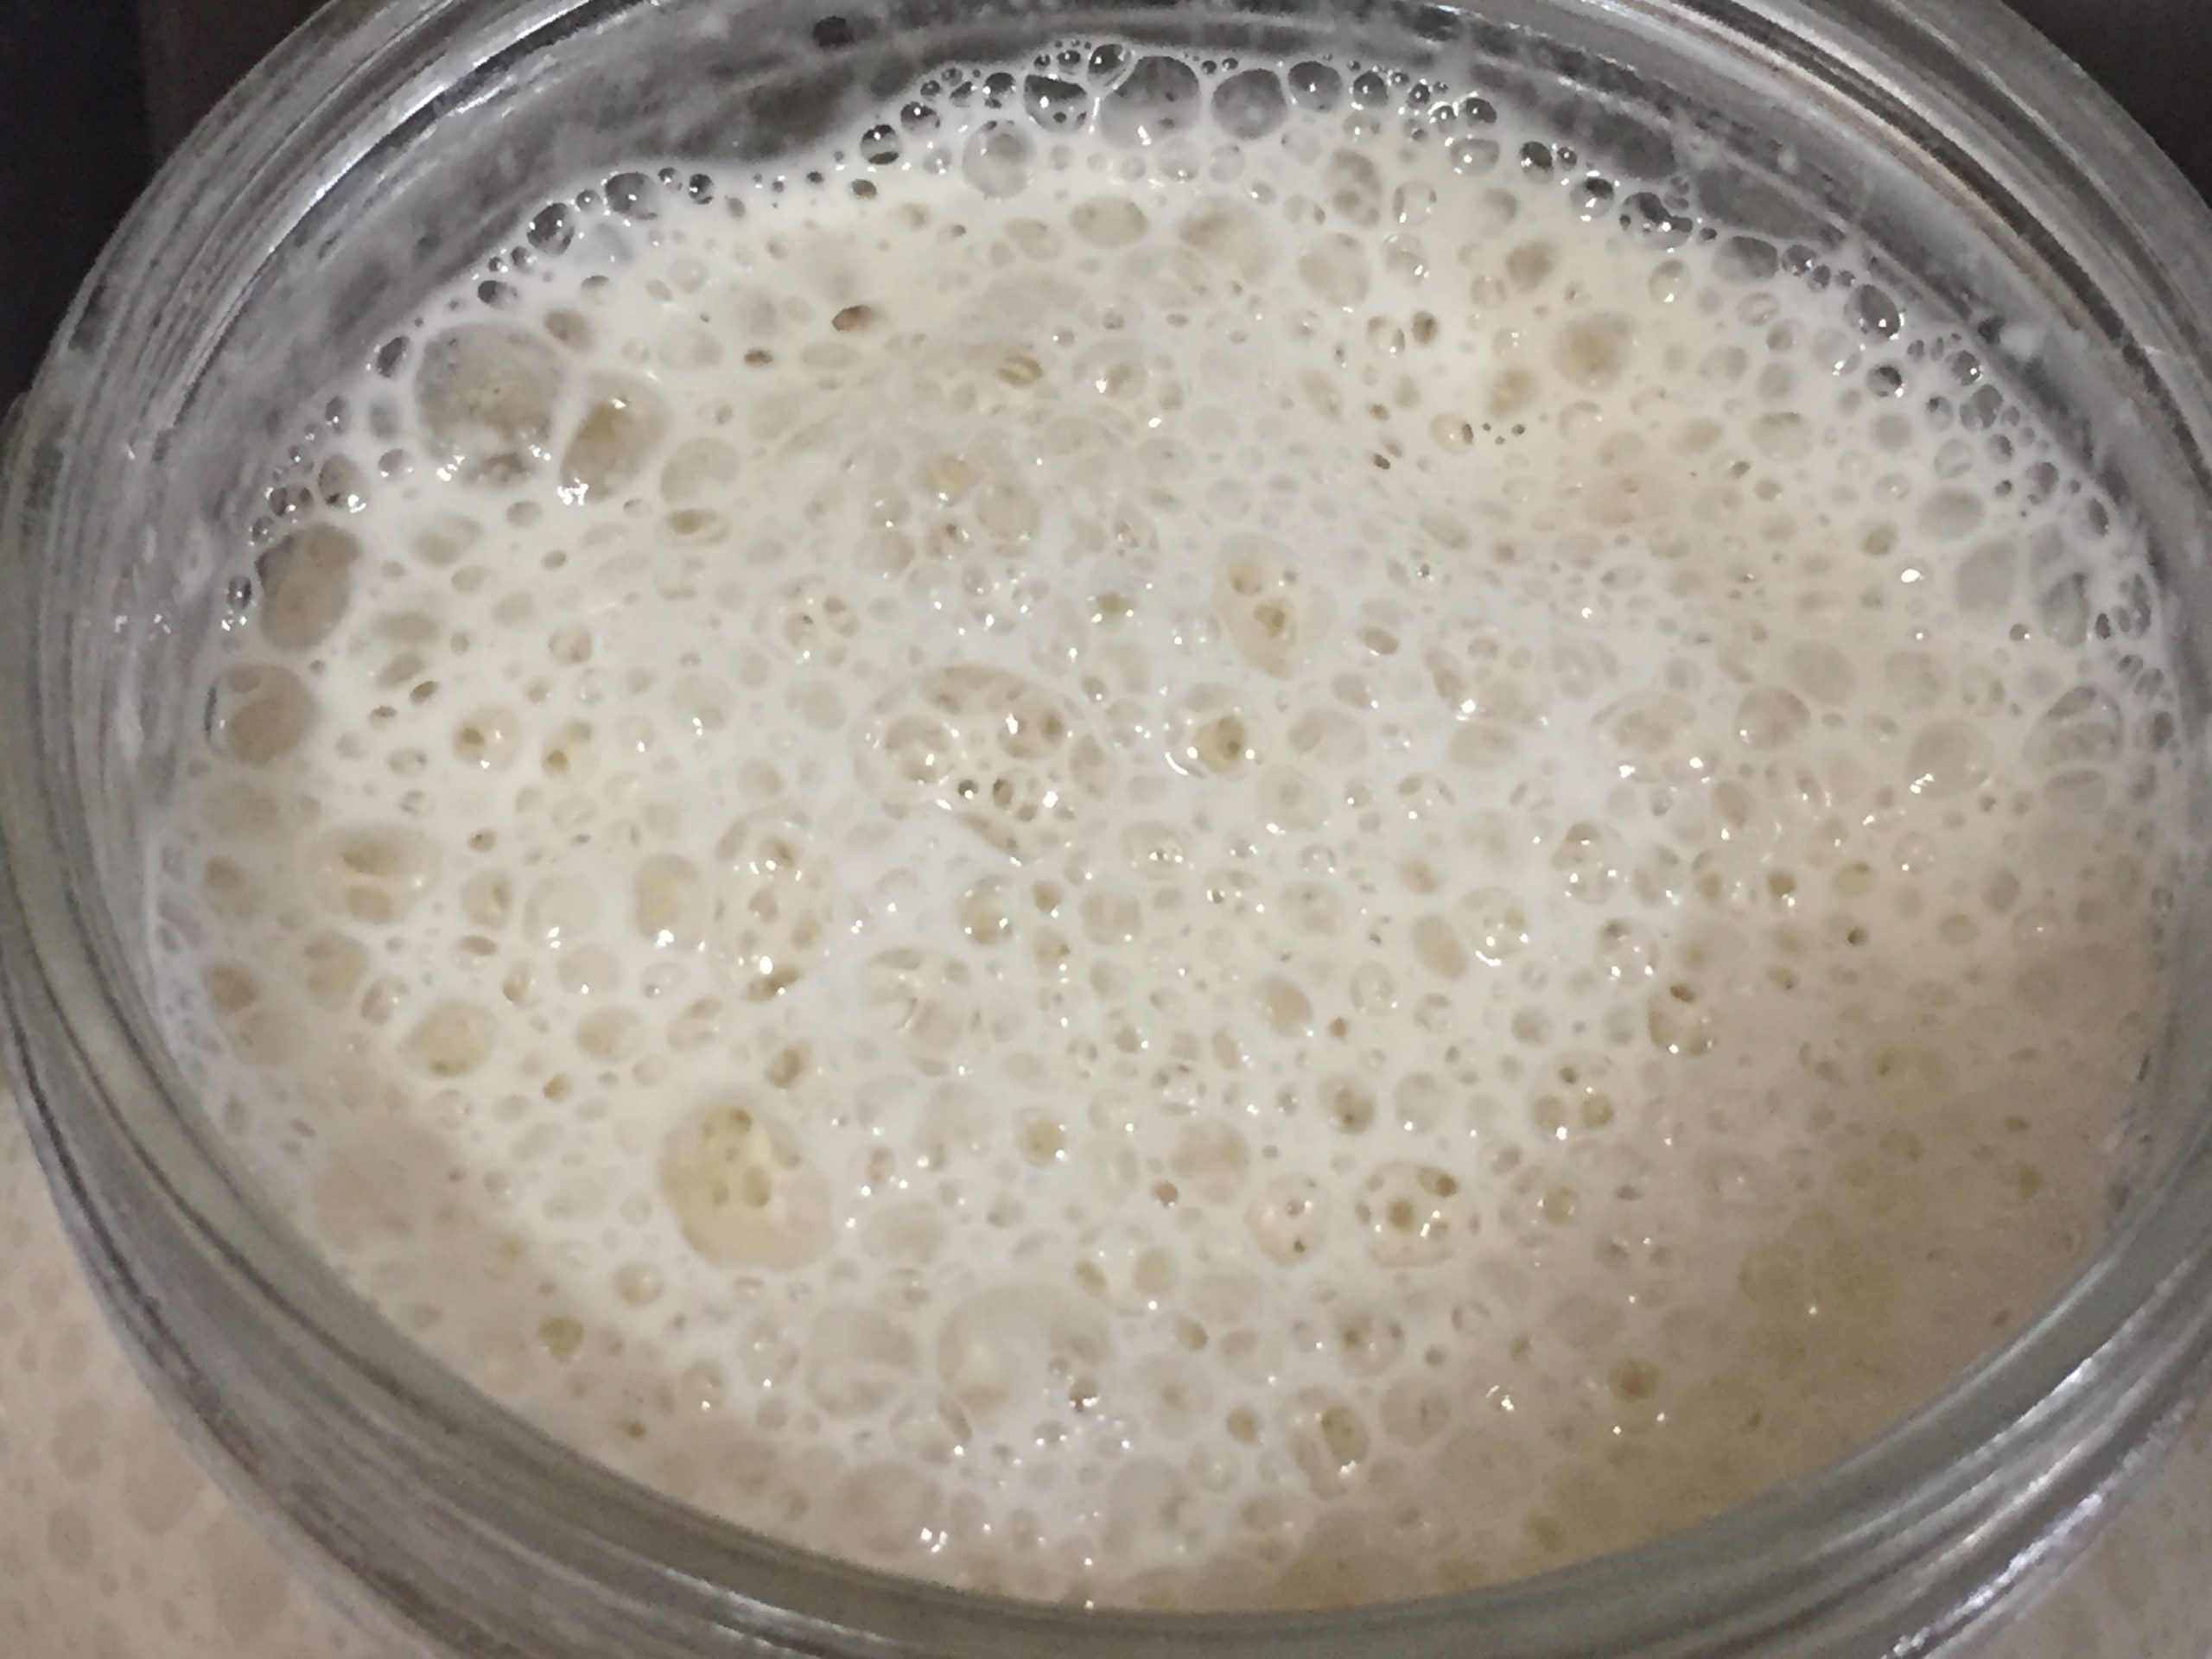
- Day 4- This is an exciting milestone for your sourdough starter. You’ll start seeing it rise with lots of bubbles at the surface and throughout the dough. The starter will also smell very yeasty with mild alcohol notes. Follow the same steps as above by disregarding half of the dough starter and replacing it with equal parts of starter, flour and water. Scale 270 grams starter dough and add it to 270 grams of water in a bowl mixing them together. Add the 270 grams of flour and mix until mixture is combined. Transfer to glass jar and cover and repeat in 12 hours. Make sure your glass jar is big enough to accommodate your sourdough starter as it will almost double in size on day 5.
- Day 5- Your sourdough starter should double in size with lots of activity. You’ll noticed that it will be very bubbly and will have a mild pleasant lactic acid aroma similar to sour cream. Repeat the same steps by disregarding a portion of the starter and replacing it with equal parts of water and flour. Scale 200 grams sourdough starter and place into bowl. Add 200 grams of water and combine together and repeat in 12 hours. Add the flour and mix until liquid adsorbs the flour. Cover and set aside in warm area of your kitchen or bakery. Repeat in 12 hours.
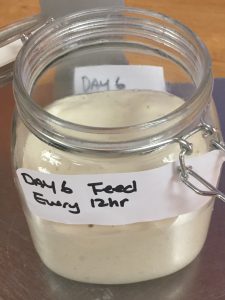
- Day 6 – Your sourdough is just about ready, alive with lots of wild yeast and lactic acid bacteria activity. It should thick and creamy with a nice balanced lactic aroma. Repeat the process that you did in day 5 by removing a portion of the sourdough starter. Scale 200 grams of sourdough starter into a bowl and dissolve with 200 grams of warm water. Add the flour and mix together. Transfers to a clean glass jar and let it stand in a warm place every 12 hours. Day 7 is almost near and you’ll be baking you very first sourdough bread loaf.
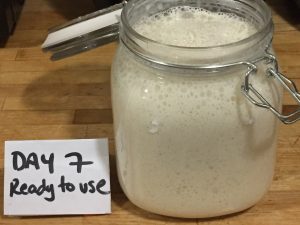
- Day 7- Your baby is ready to be used. Just remember to always hold back a portion of your sourdough starter so it can be refreshed.
How to Store Sourdough Starter?
You can store your sourdough starter in the refrigerator in a glass jar with a pressure lid for up to 3 months. When your ready to bake with just remove from the refrigerator and refresh it by adding equal parts of water and flour. Let it stand at room temperature for about 8 hours before using it. Don’t forget to reserve a portion and store back into the refrigerator.
How to Refresh Sourdough Starter (Levain)?
If you opt not to store your sourdough starter in the refrigerator for a period of time and decide that you want to refresh it on a daily basis then follow these simple steps to main 500 grams of sourdough levain at all times.
Ingredients:
- Sour Starter 100 grams
- Water 200 grams
- Unbleached flour 200 grams
Steps:
- Dissolve the sourdough starter in a bowl with the water.
- Add the flour and mix just until the water mixture absorbs the flour.
- Repeat this this process twice a day. If you can’t commit to refreshing your sourdough starter twice a day, refrigerate your sourdough starter after 8 hours and repeat on a daily basis.
- You might find your sourdough a bit more acidic due to the increased fermentation.
Can You Substitute Wheat Flour Sourdough Starter With Whole Wheat Flour?
Once your sourdough levain starter is fulled developed you can substitute the white wheat flour with whole wheat flour, spelt flour or rye flour. You have to increase the water by 10%.
Levain Sourdough Starter Recipe and Guide (White Flour)
Ingredients
- 120 grams unbleached flour 1 cup
- 120 grams Spring Water room temperature 1/2 cup
Instructions
- Day 1- In a medium size bowl add the 120 grams of flour and 120 grams of water and mix together using a spatula just until the flour adsorbs the water. Transfer to a glass jar and cover with lid or cloth for 24 hours in a warm spot.
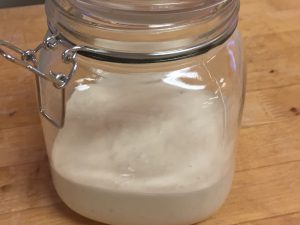
- Day 2- Disregard half of your flour mixture and add 120 grams of water into a bowl and 120 grams of mixture and dissolve into the water. Add in 120 grams of flour and mix until water mixture absorbs the flour. Transfer the dough to a clean glass jar and cover with lid or cloth for another 24 hours.
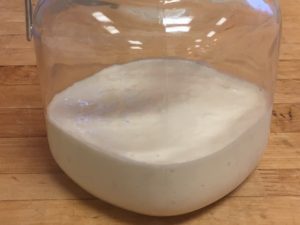
- Day 3- You should start seeing some activity with your premature sourdough starter. By day 3 there should be bubbles at the surface of your starter indicating that the wild yeast are present. Repeat the same process as day 2 by remove half of the starter dough and replenish with equal parts of water and flour and starter. Scale 180 grams of starter, dissolve in 180 grams of room temperature water and add 180 grams of flour and mix until liquid absorbs the flour, transfer to glass jar repeat this process in 12 hours.
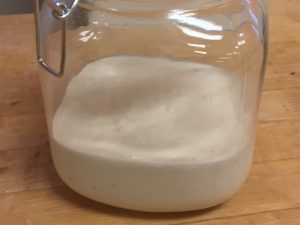
- Day 4- This is an exciting milestone for your sourdough starter. You’ll start seeing it rise with lots of bubbles at the surface and throughout the dough. The starter will also smell very yeasty with mild alcohol notes. Follow the same steps as above by disregarding half of the dough starter and replacing it with equal parts of starter, flour and water. Scale 270 grams starter dough and add it to 270 grams of water in a bowl mixing them together. Add the 270 grams of flour and mix until mixture is combined. Transfer to glass jar and cover and repeat in 12 hours. Make sure your glass jar is big enough to accommodate your sourdough starter as it will almost double in size on day 5.
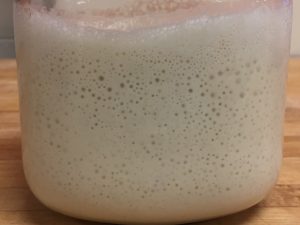
- Day 5- Your sourdough starter should double in size with lots of activity. You’ll noticed that it will be very bubbly and will have a mild pleasant lactic acid aroma similar to sour cream. Repeat the same steps by disregarding a portion of the starter and replacing it with equal parts of water and flour. Scale 200 grams sourdough starter and place into bowl. Add 200 grams of water and combine together and repeat in 12 hours. Add the flour and mix until liquid adsorbs the flour. Cover and set aside in warm area of your kitchen or bakery. Repeat in 12 hours.
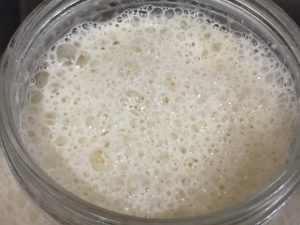
- Day 6 – Your sourdough is just about ready, alive with lots of wild yeast and lactic acid bacteria activity. It should thick and creamy with a nice balanced lactic aroma. Repeat the process that you did in day 5 by removing a portion of the sourdough starter. Scale 200 grams of sourdough starter into a bowl and dissolve with 200 grams of warm water. Add the flour and mix together. Transfers to a clean glass jar and let it stand in a warm place every 12 hours. Day 7 is almost near and you’ll be baking you very first sourdough bread loaf.
- Day 7- Your baby is ready to be used. Just remember to always hold back a portion of your sourdough starter so it can be refreshed.


Leave a Reply