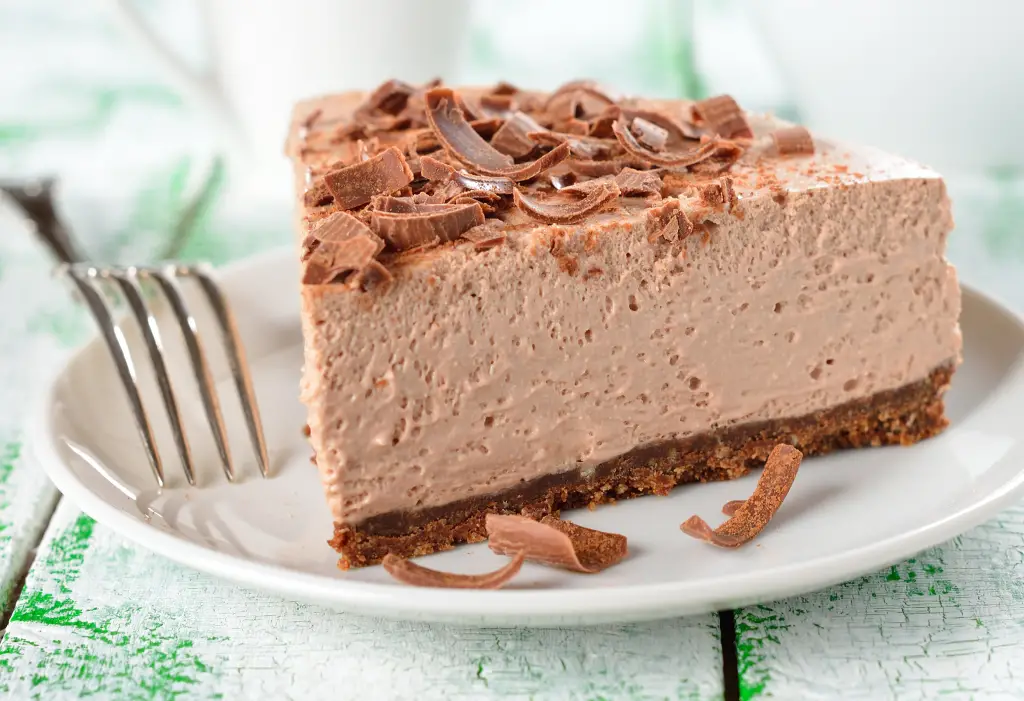
The best delicious Andy's Italian Cheesecake recipe with easy-to-follow step-by-step instructions that are straightforward and foolproof. Try this Andy's Italian Cheesecake recipe today!
Hello my friends, this Andy's Italian Cheesecake recipe will not disappoint, I promise! Made with simple ingredients, our Andy's Italian Cheesecake is amazingly delicious, and addictive, everyone will be asking for more Andy's Italian Cheesecake.
What Makes This Andy's Italian Cheesecake Recipe Better?
The answer is simple, Simplicity, Foolproof, Straightforward, and Tested. Yes, all recipes have been tested before posting including this Andy's Italian Cheesecake.
Ready to make this Andy's Italian Cheesecake Recipe? Let’s do it!
Oh, before I forget…If you’re looking for recipes that are simple to follow, then we’ve got your back. With over 55,000 recipes in our database, we’ve got the best recipes you’re craving for.
2 c Sugar
6 lg Eggs
1 lb Ricotta Cheese
1 lb Cream Cheese
1 ts Vanilla Extract
Separate eggs and beat whites stiff.
In a large bowl, thoroughly mix all ingredients except the egg whites. Fold
in the egg whites until just completely mixed.
Butter and lightly flour a 9″ spring pan. Pour in the entire mixture.
Bake at 325 degrees F. for 1 hour – do not open oven door. Without opening
oven door, turn off oven and let remain in oven for an additional hour.
Remove from oven; the cheesecake should be lightly browned and should have
several cracks in the center. The center will also be slightly lower than
the edges. If you do choose to use a glaze, you will see that this
cheesecake forms its own rim. If your oven runs hot or cold, change the
temperature by + or – 25 degrees rather than changing the cooking and idle
time.
Insert knife around sides of pan to insure easy removal of spring pan
sides. Remove the spring pan sides and place cheesecake and bottom of
spring pan on a plate to catch the liquid which will exude during the 3
hours the cheesecake is in the refrigerator. The longer the better in this
case. Do not cover.
This recipe takes about 5 1/2 hours from start to eating. (Much of it free
time for other tasks). But it is definitely worth the effort. Enjoy!
REG shared by Martha Sheppard, Orlando, FL, USA
mailto:marthahs@worldnet.att.net
Yields
1 Servings


Leave a Reply